
Before You Start
This guide helps you install Yuko on your WordPress + WooCommerce store and connect it to start collecting customer reviews. What you’ll achieve:- Install and activate Yuko plugin on your WordPress site
- Connect your WooCommerce store to Yuko Dashboard
- Sync your products, orders and customers automatically
- Ready to send review requests and display reviews
Total time needed: 15-20 minutes Technical level: Beginner-friendly (no coding required)
Requirements Checklist
Before starting, make sure you have:WordPress Requirements:
- WordPress version 5.8 or higher
- WooCommerce plugin installed and active (version 6.0+)
- PHP version 7.4 or higher
- Admin access to your WordPress dashboard
What you need ready:
- Your business email address
- Store name and website URL
- Company information (name, address, phone)
- Access to your email inbox (for verification)
Installation Steps
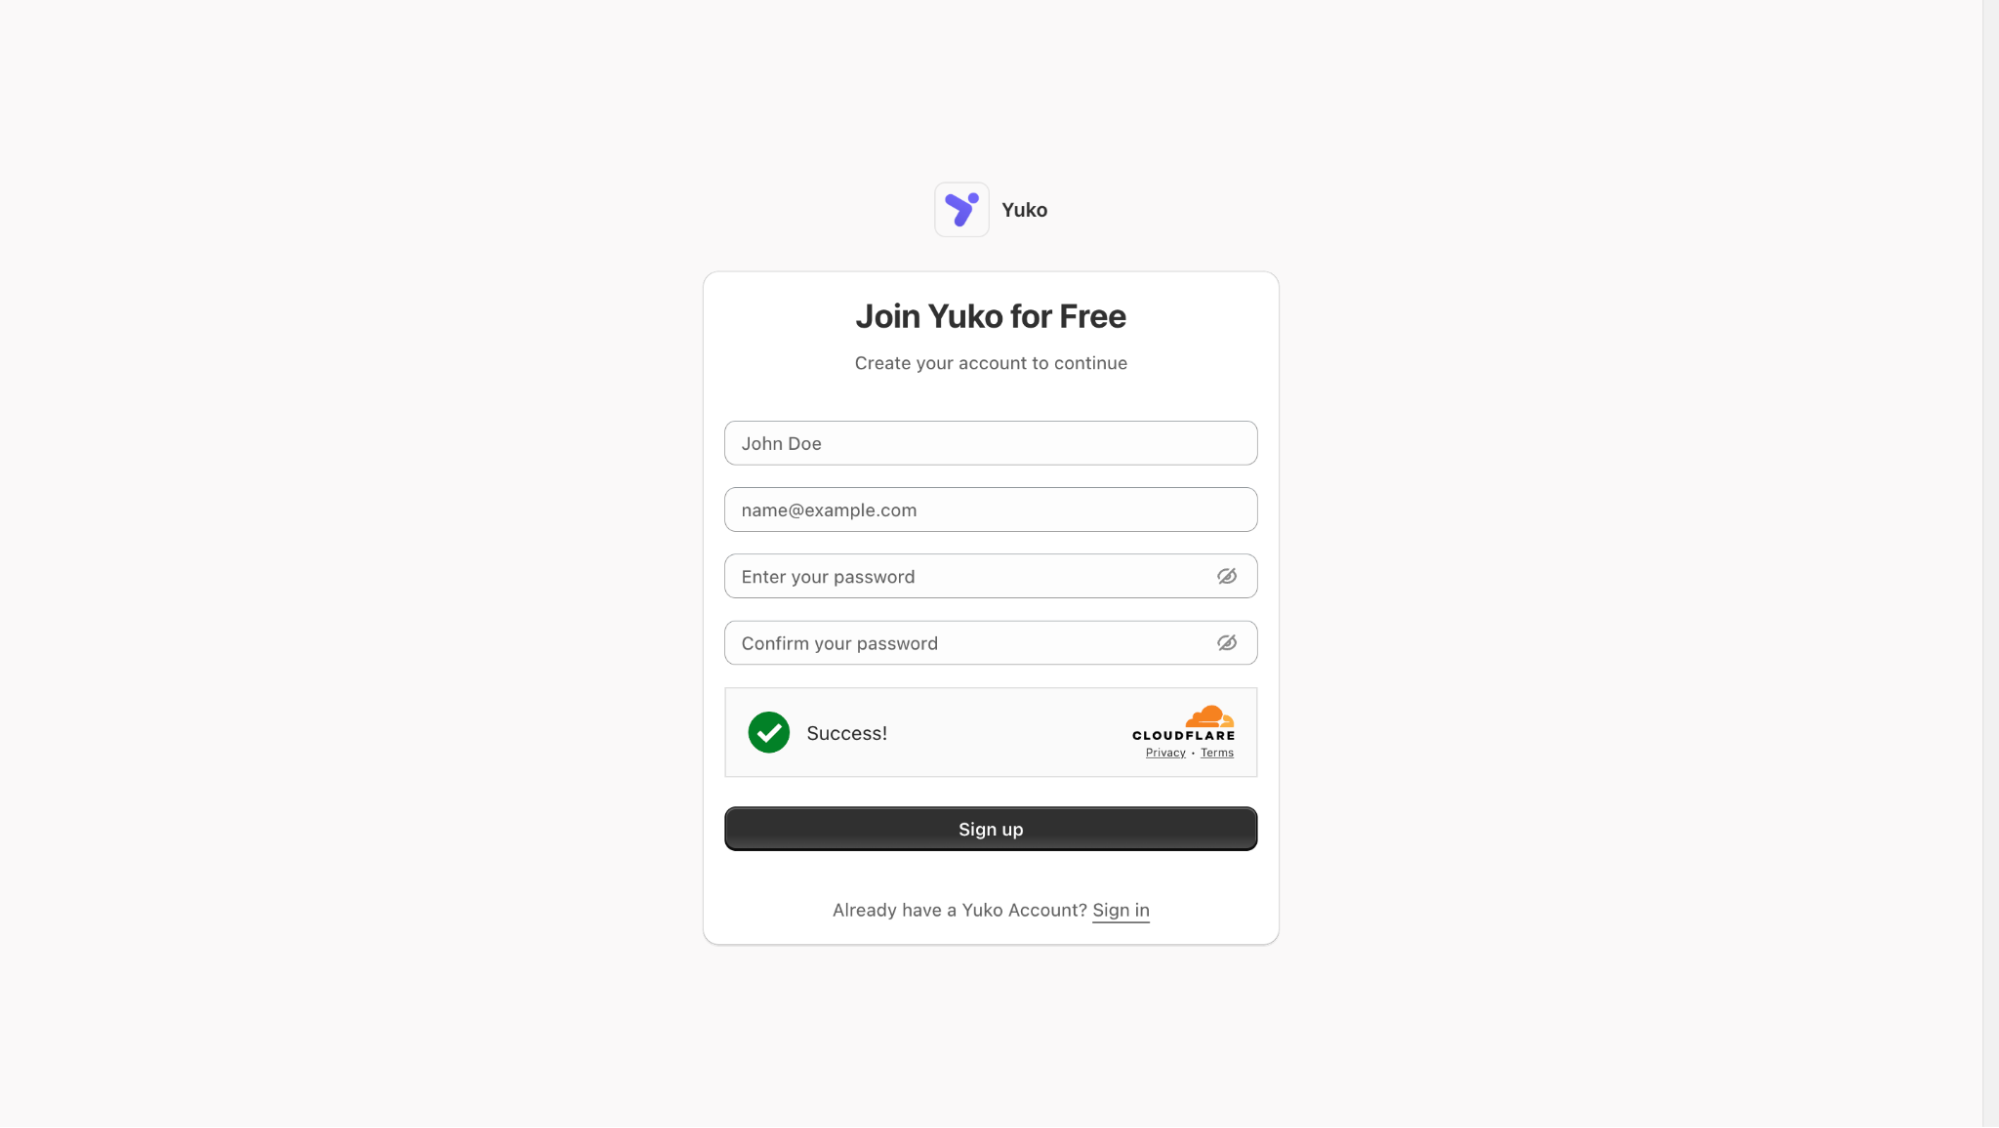
Follow these 5 steps to complete your Yuko installation:Create Your Yuko Account
First, create your Yuko account where you’ll manage all review settings.How to create account:
- Visit app.yukoapp.com
-
Enter your information:
- Full name
- Business email address (use your store’s domain email if possible)
- Create a strong password
-
Click the “Sign up” button
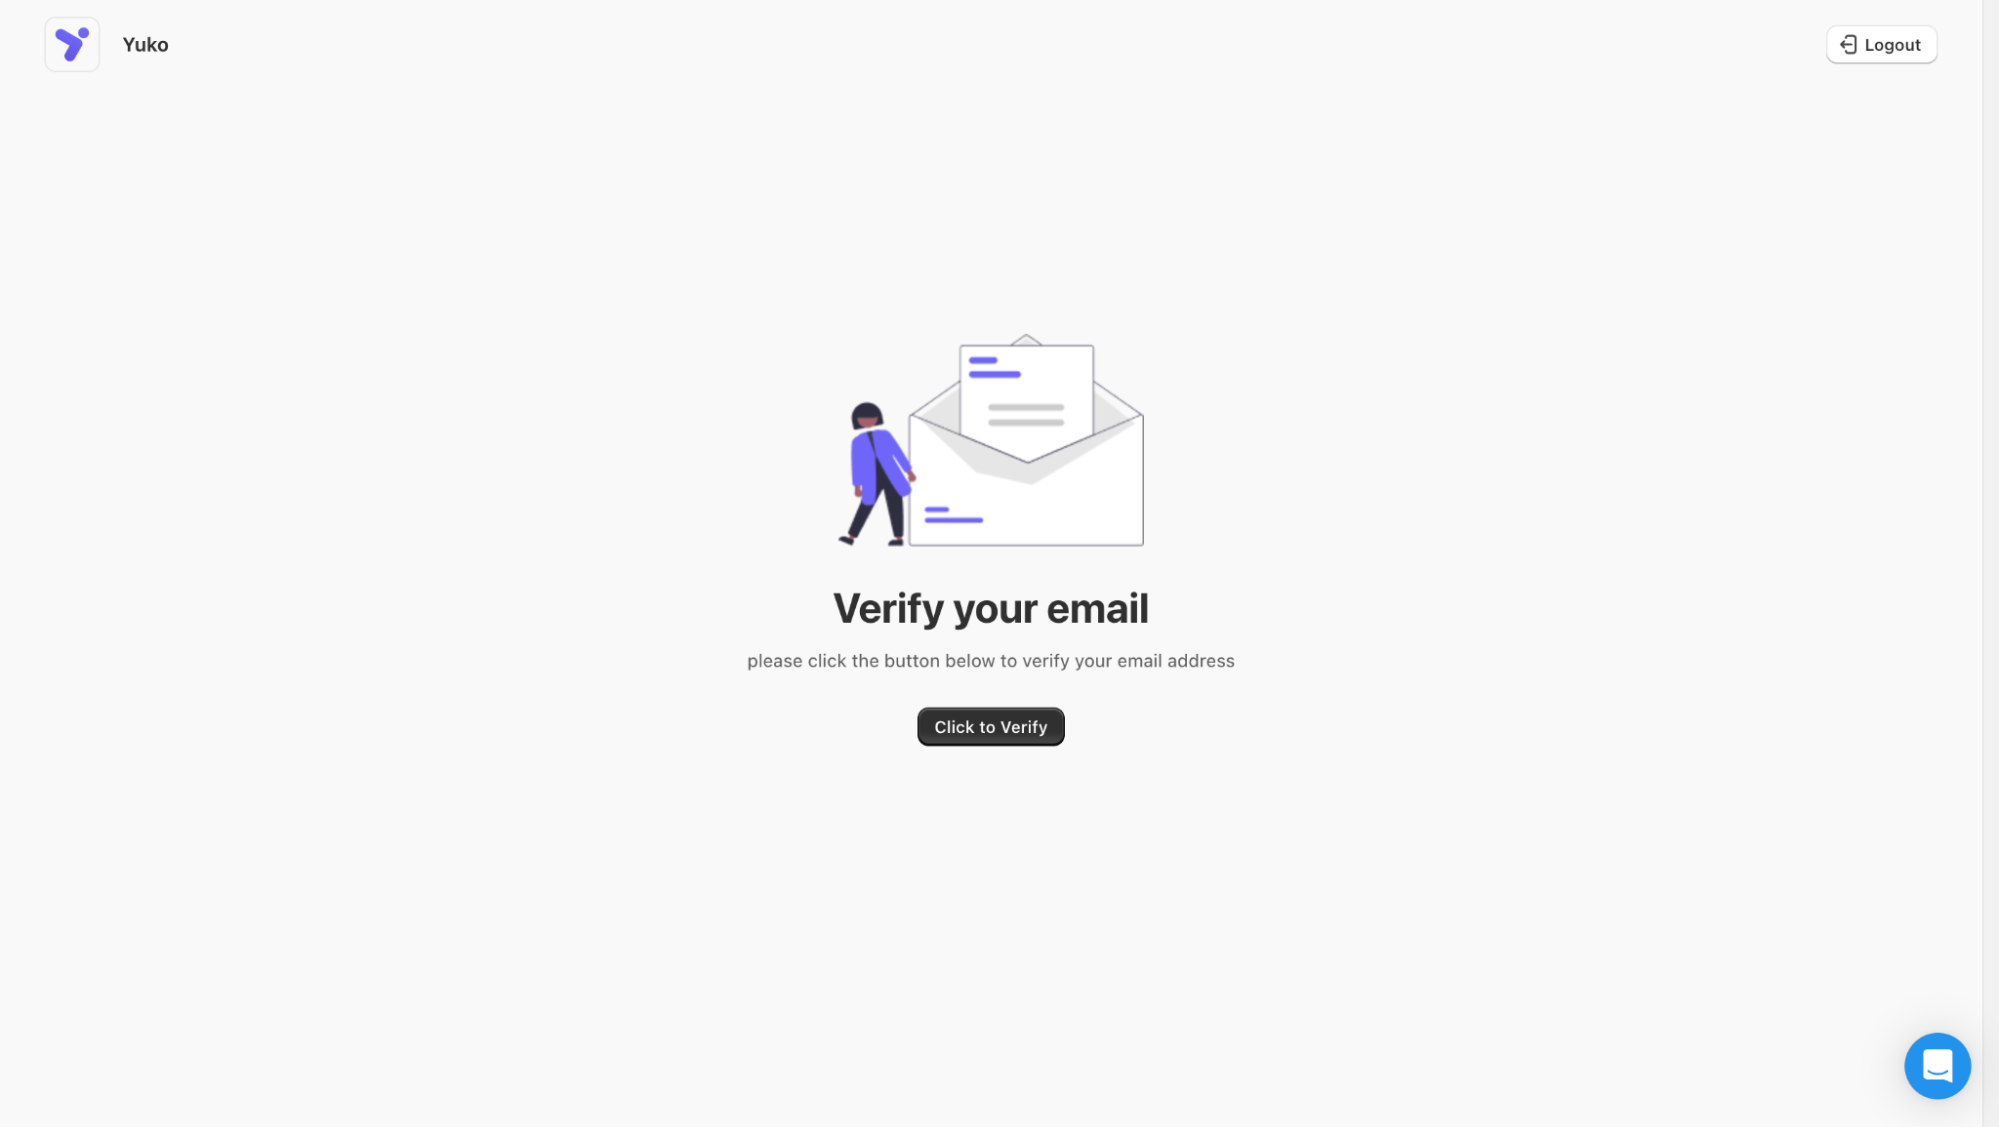
Verify Your Email
- Check your inbox for the Yuko verification email
- Click the verification link to activate your account
- If not received, check spam or use Resend verification email
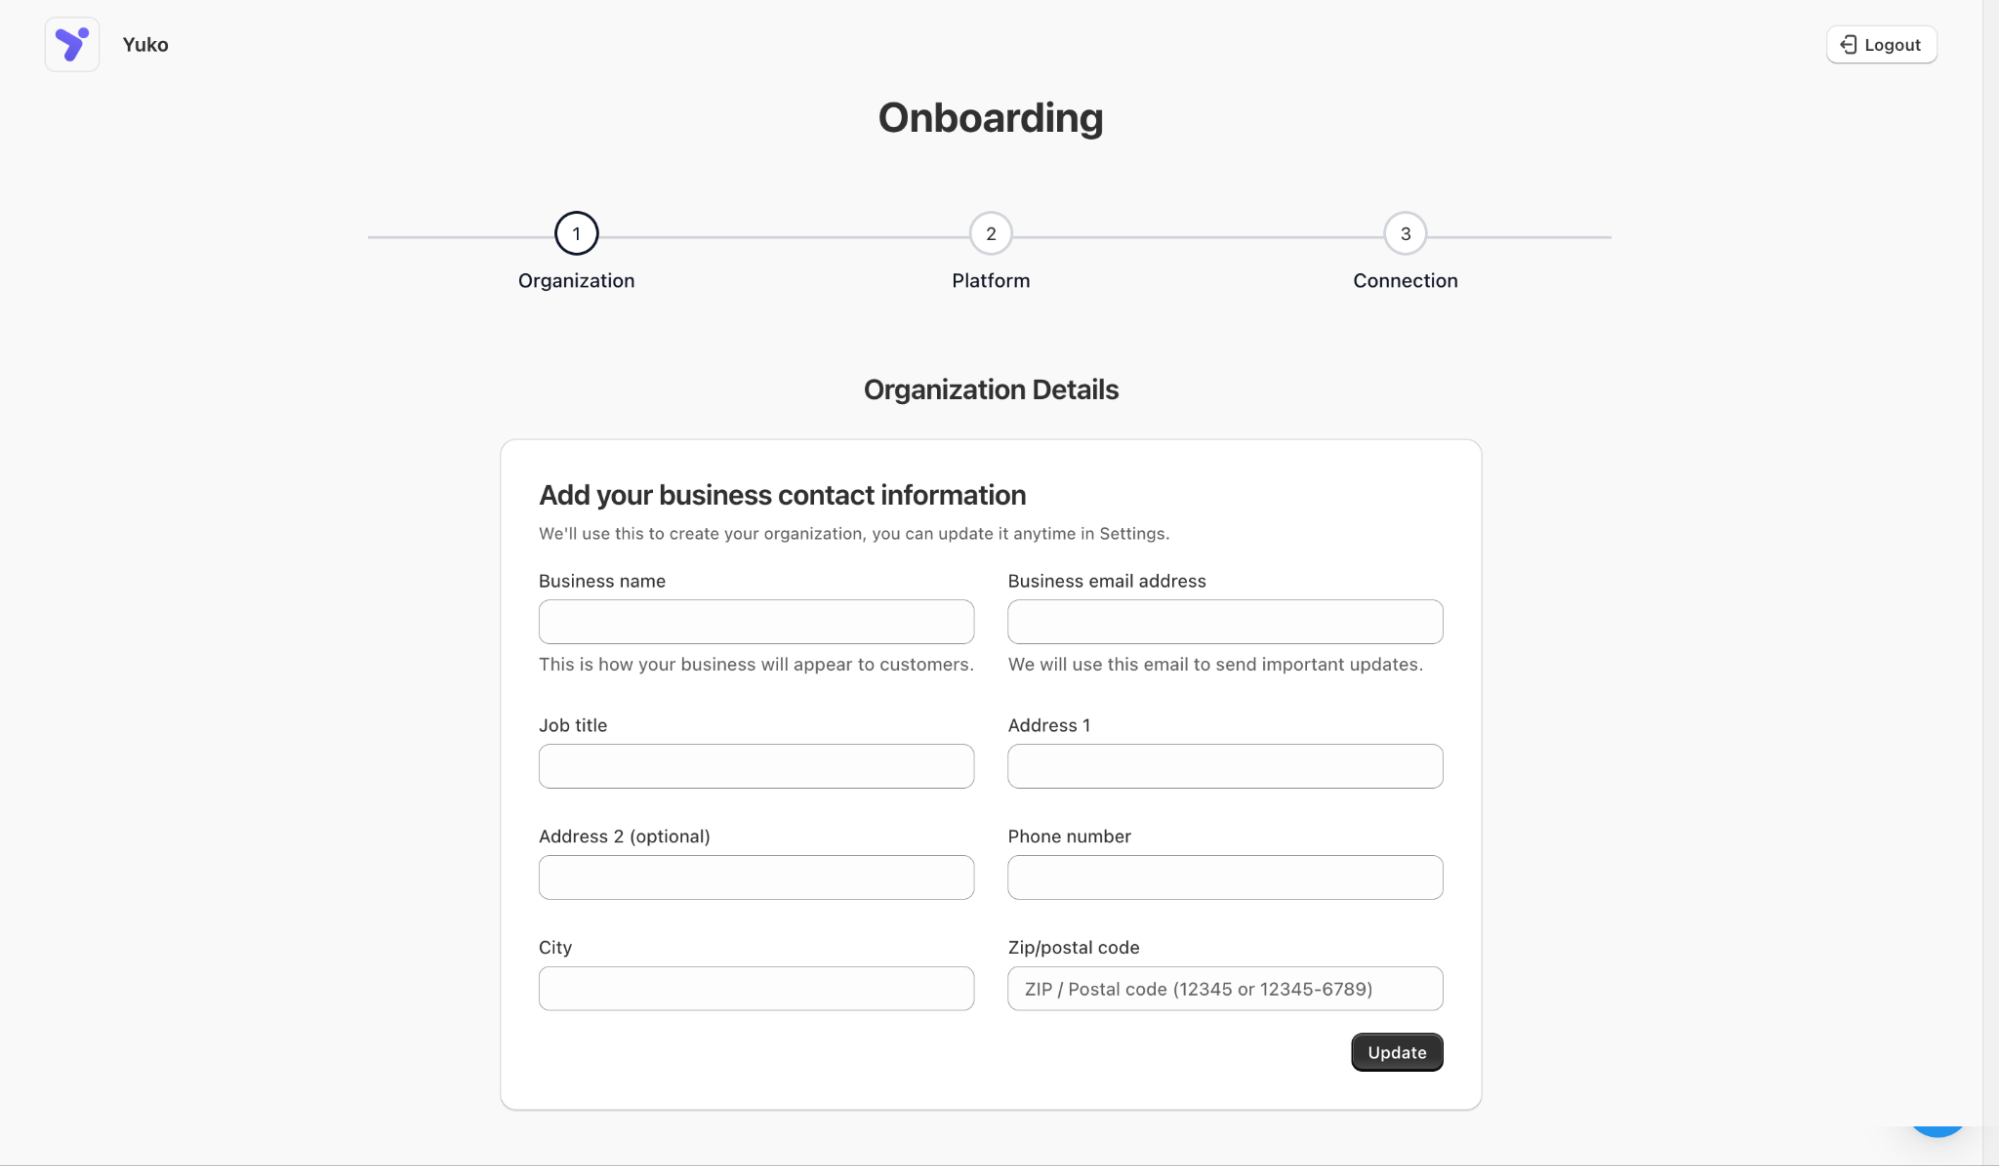
Add Your Business Information
Tell Yuko about your business. This information appears in review request emails and helps with compliance.
- Fill in all required fields:
- Business Name and Email Address - Your store name (as customers know it) and the corresponding email address
- Address - Your business address
- City, State, Country - Location details
- ZIP/Postal Code - Your postal code
- Phone Number - Customer support phone number
-
Click “Update”.
Privacy note: Your customers see this information in review emails. Use your public business address, not a personal home address.
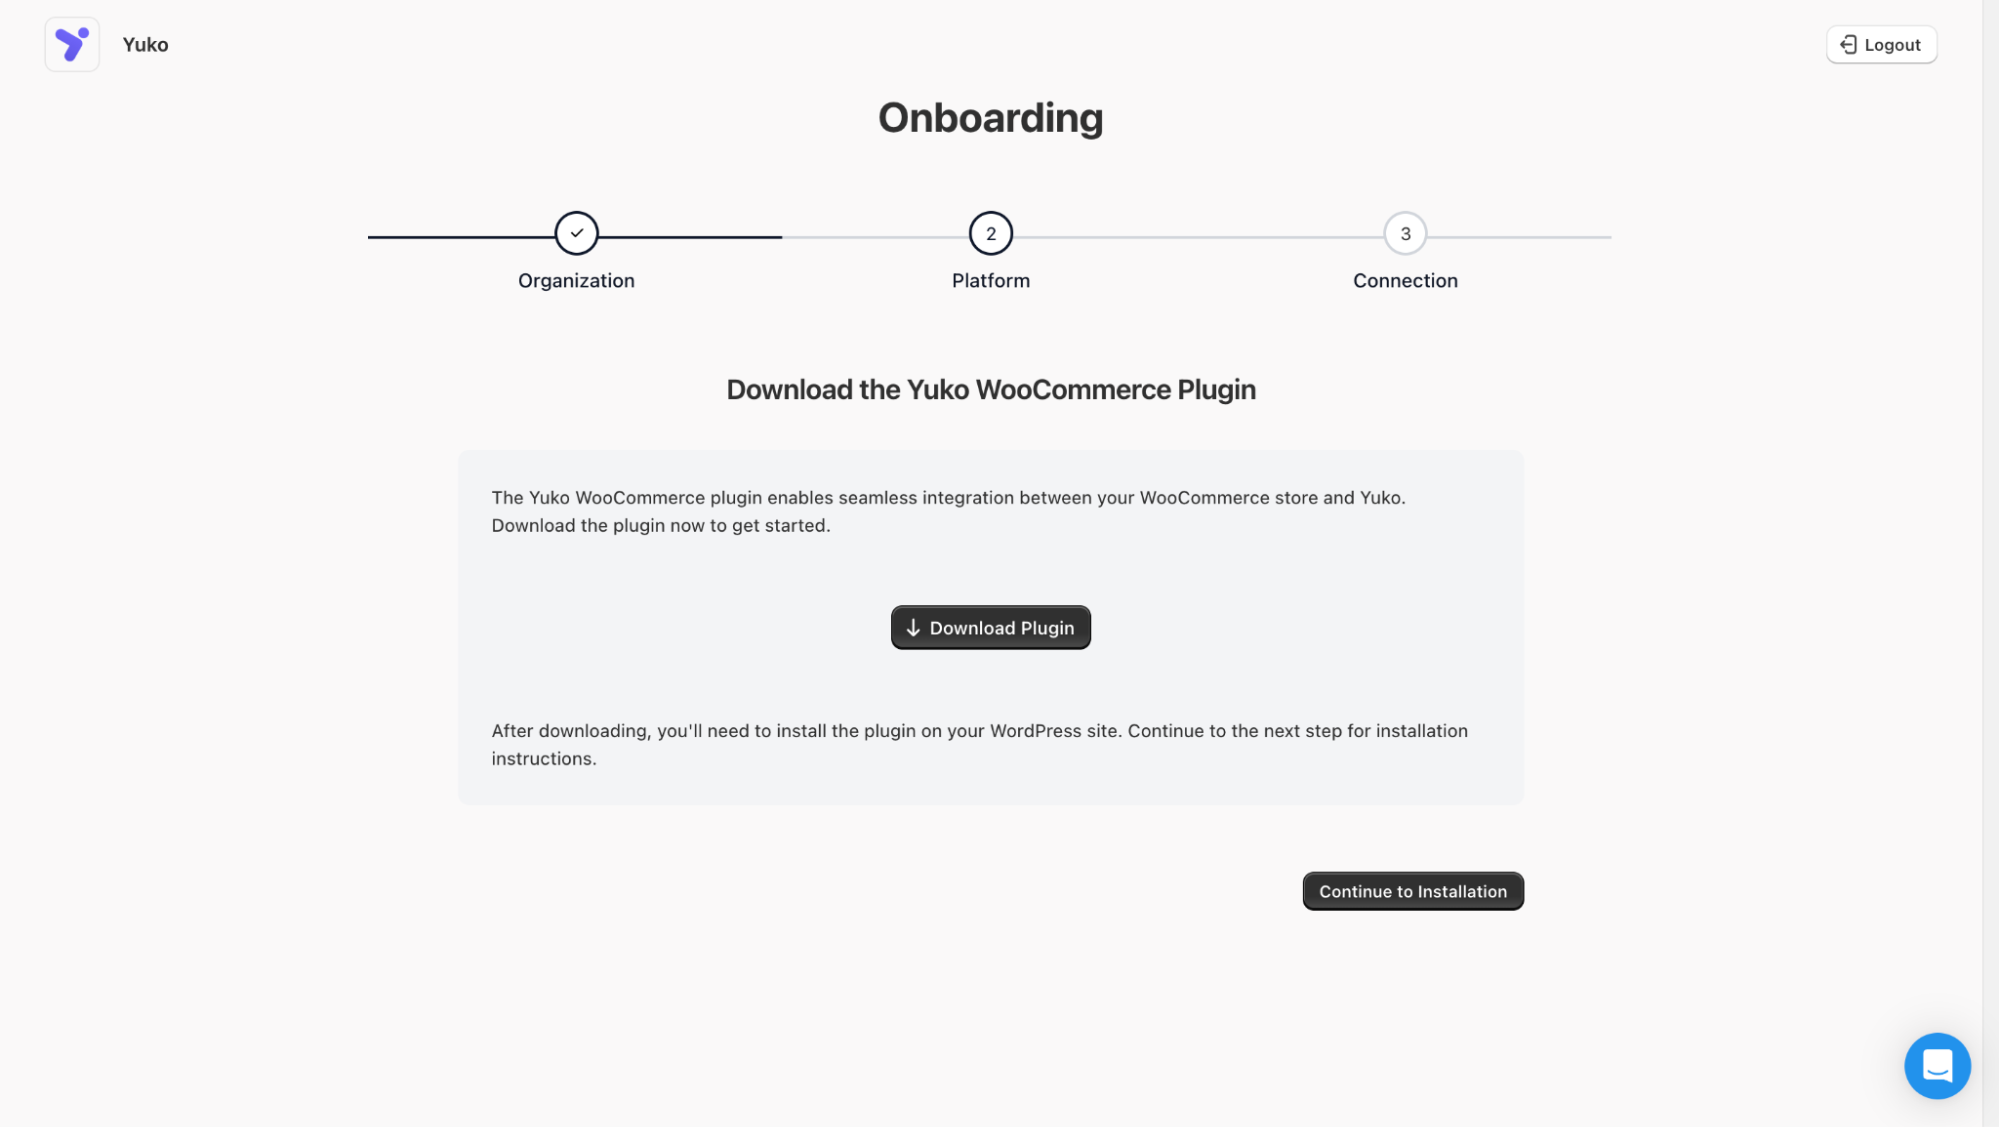
Download the Yuko Plugin
Download the plugin file that connects your WordPress site to Yuko.
- Download the Yuko WooCommerce plugin when prompted
- Upload and activate it on your WordPress site
- Download the Yuko WooCommerce plugin when prompted by clicking on “Download Plugin”
- You will see a zip file downloaded
-
Upload and activate it on your WordPress site
Install Plugin on WordPress
Upload and activate the Yuko plugin in your WordPress admin panel.How to install:
- Open a new browser tab
- Log in to your WordPress Admin Panel (usually: yoursite.com/wp-admin)
- In the left sidebar, go to Plugins → Add New
- Click the Upload Plugin button (at the top of the page)
- Click Choose File
-
Select the
yuko.zipfile you downloaded - Click Install Now
- Wait for the progress bar to complete (30-60 seconds)
-
Click Activate Plugin
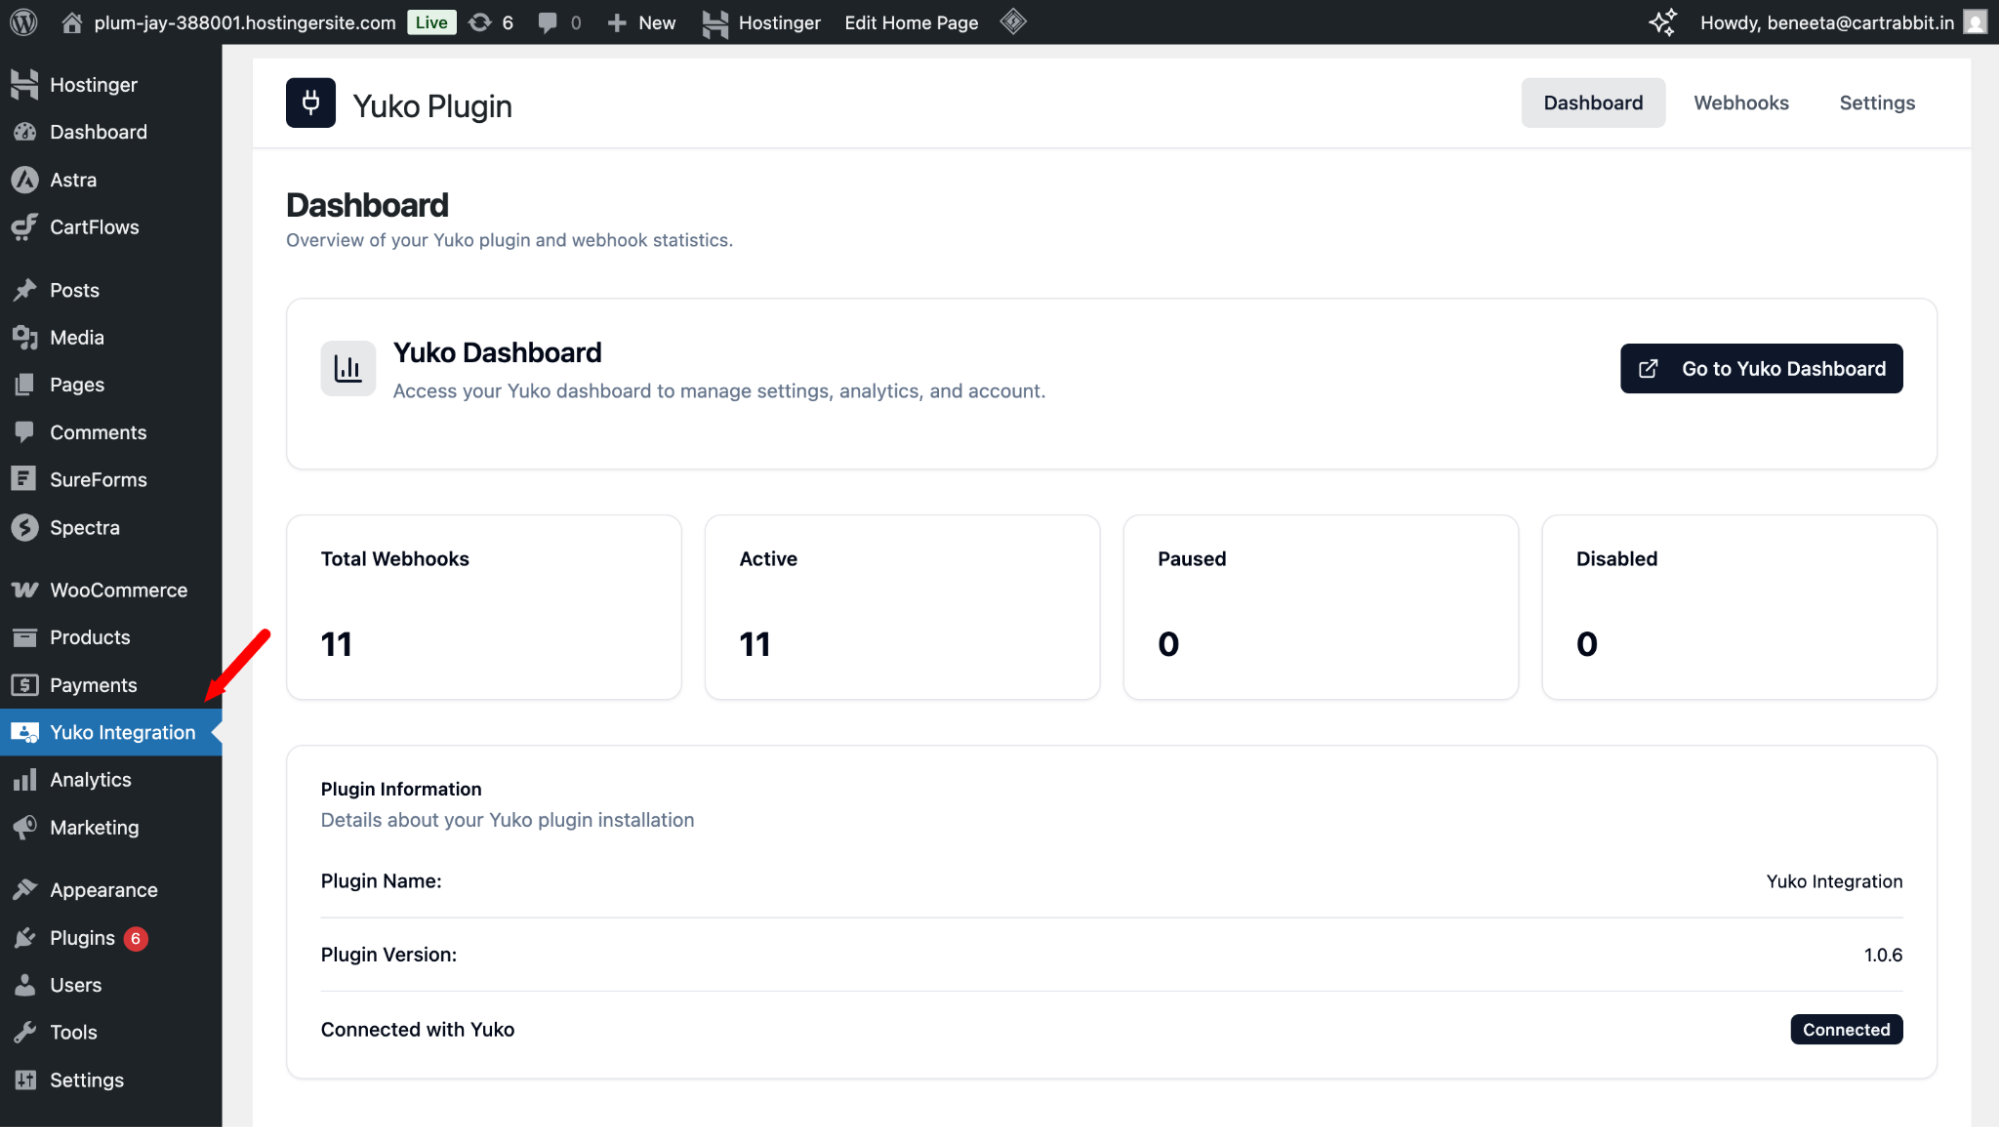
Connect Your Store to Yuko
Link your WooCommerce store with Yuko so they can communicate.How to connect:
Return to your Yuko Onboarding (you will be redirected to this page)
Return to your Yuko Onboarding (you will be redirected to this page)
- Return to your Yuko Dashboard (in the other browser tab)
-
In the Store URL field, enter your store’s URL
- Example:
https://yourstore.comorhttps://shop.yourstore.com - Include
https://but not/wp-adminor other paths
- Example:
-
Click Authenticate to give Yuko permission
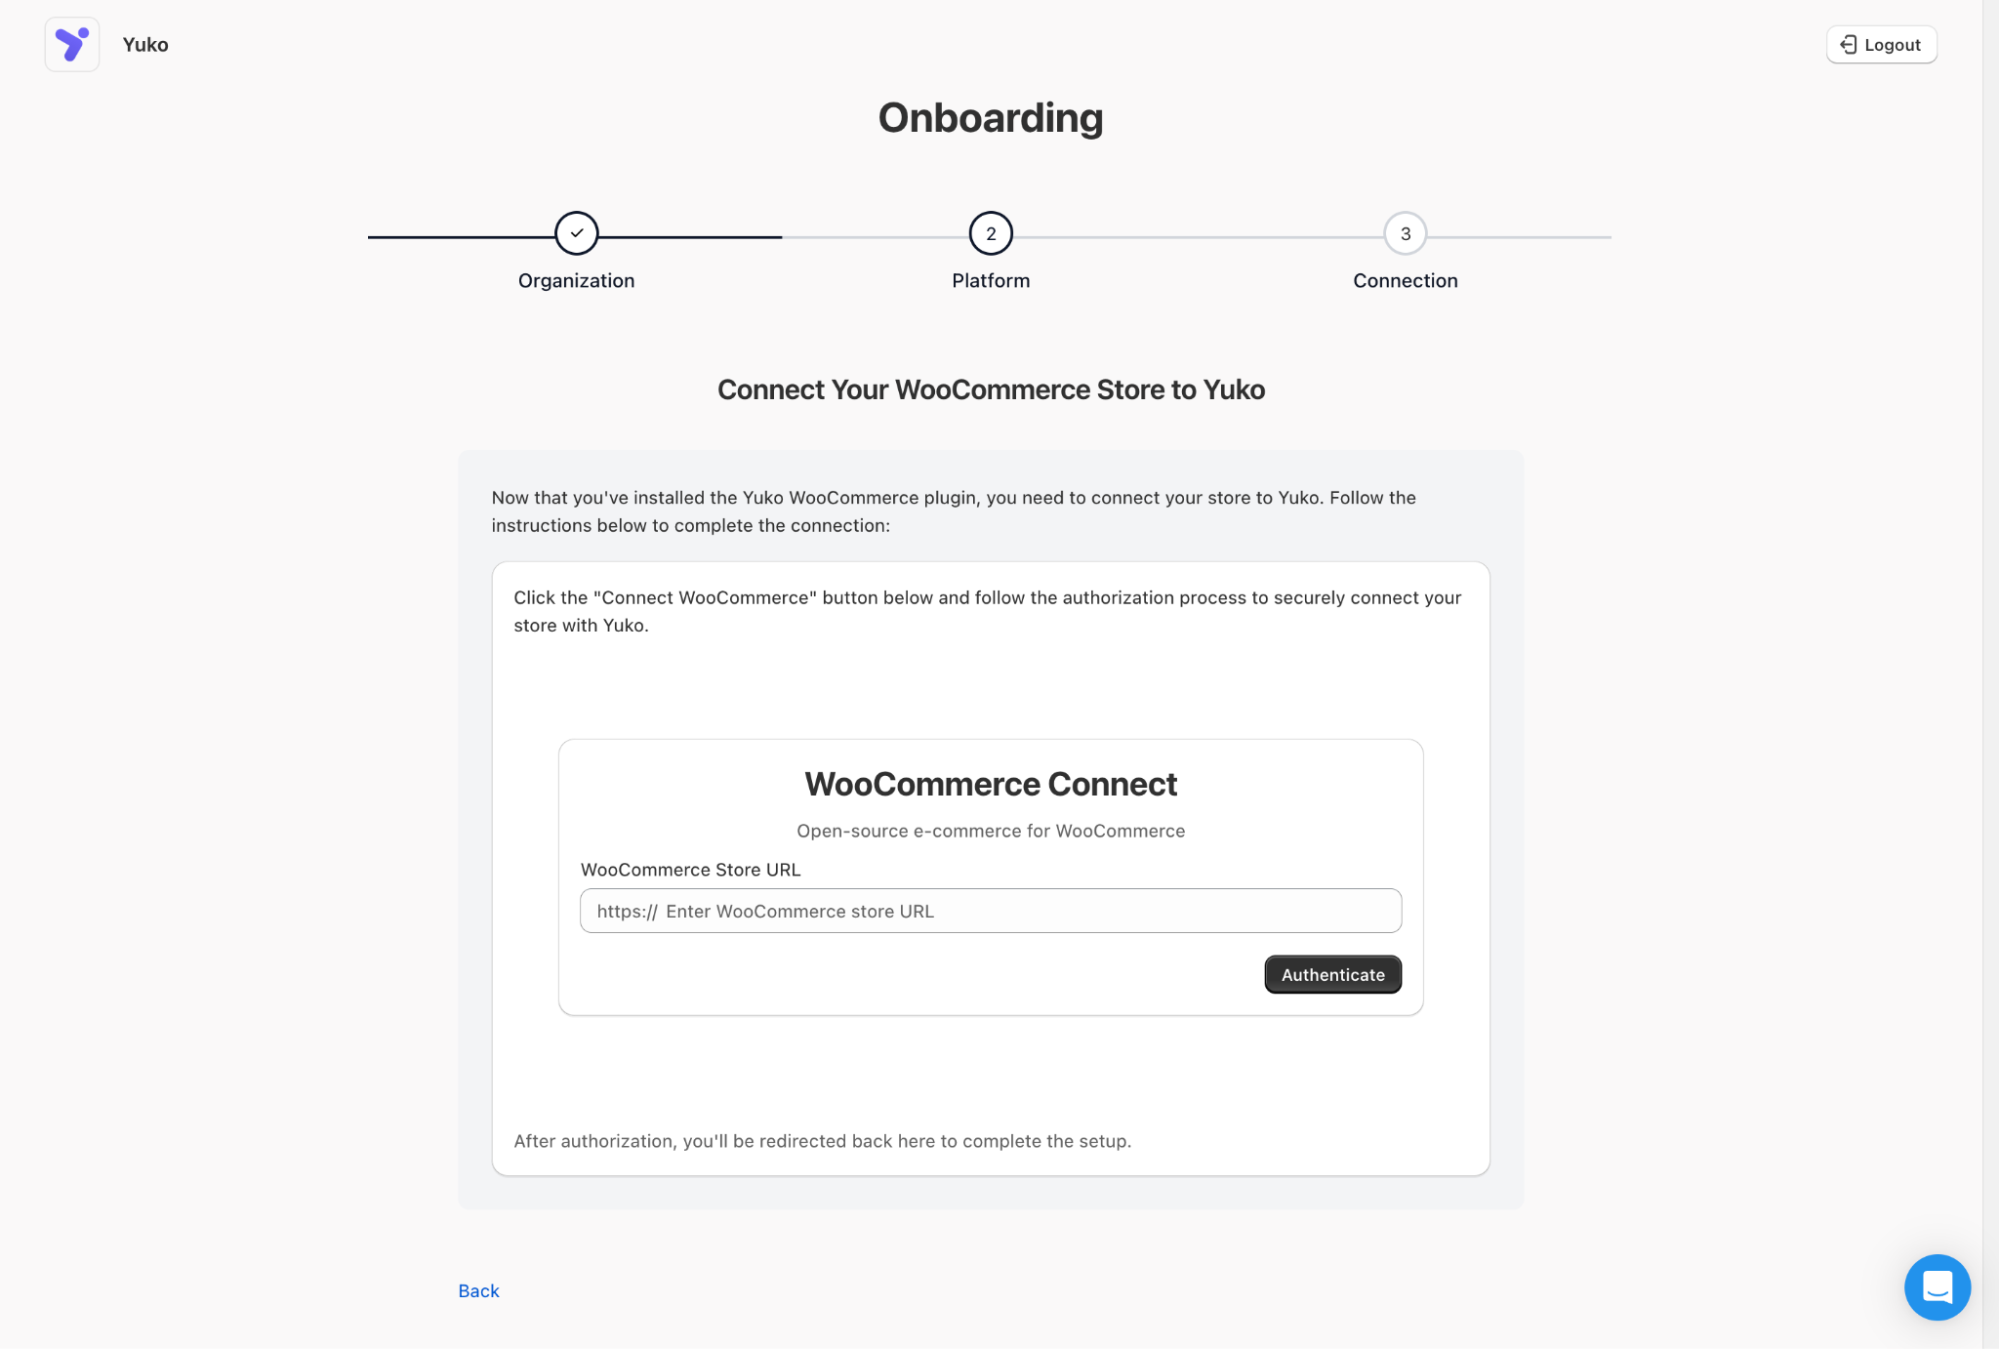
-
Wait for the connection to complete (shows “Connected” status)

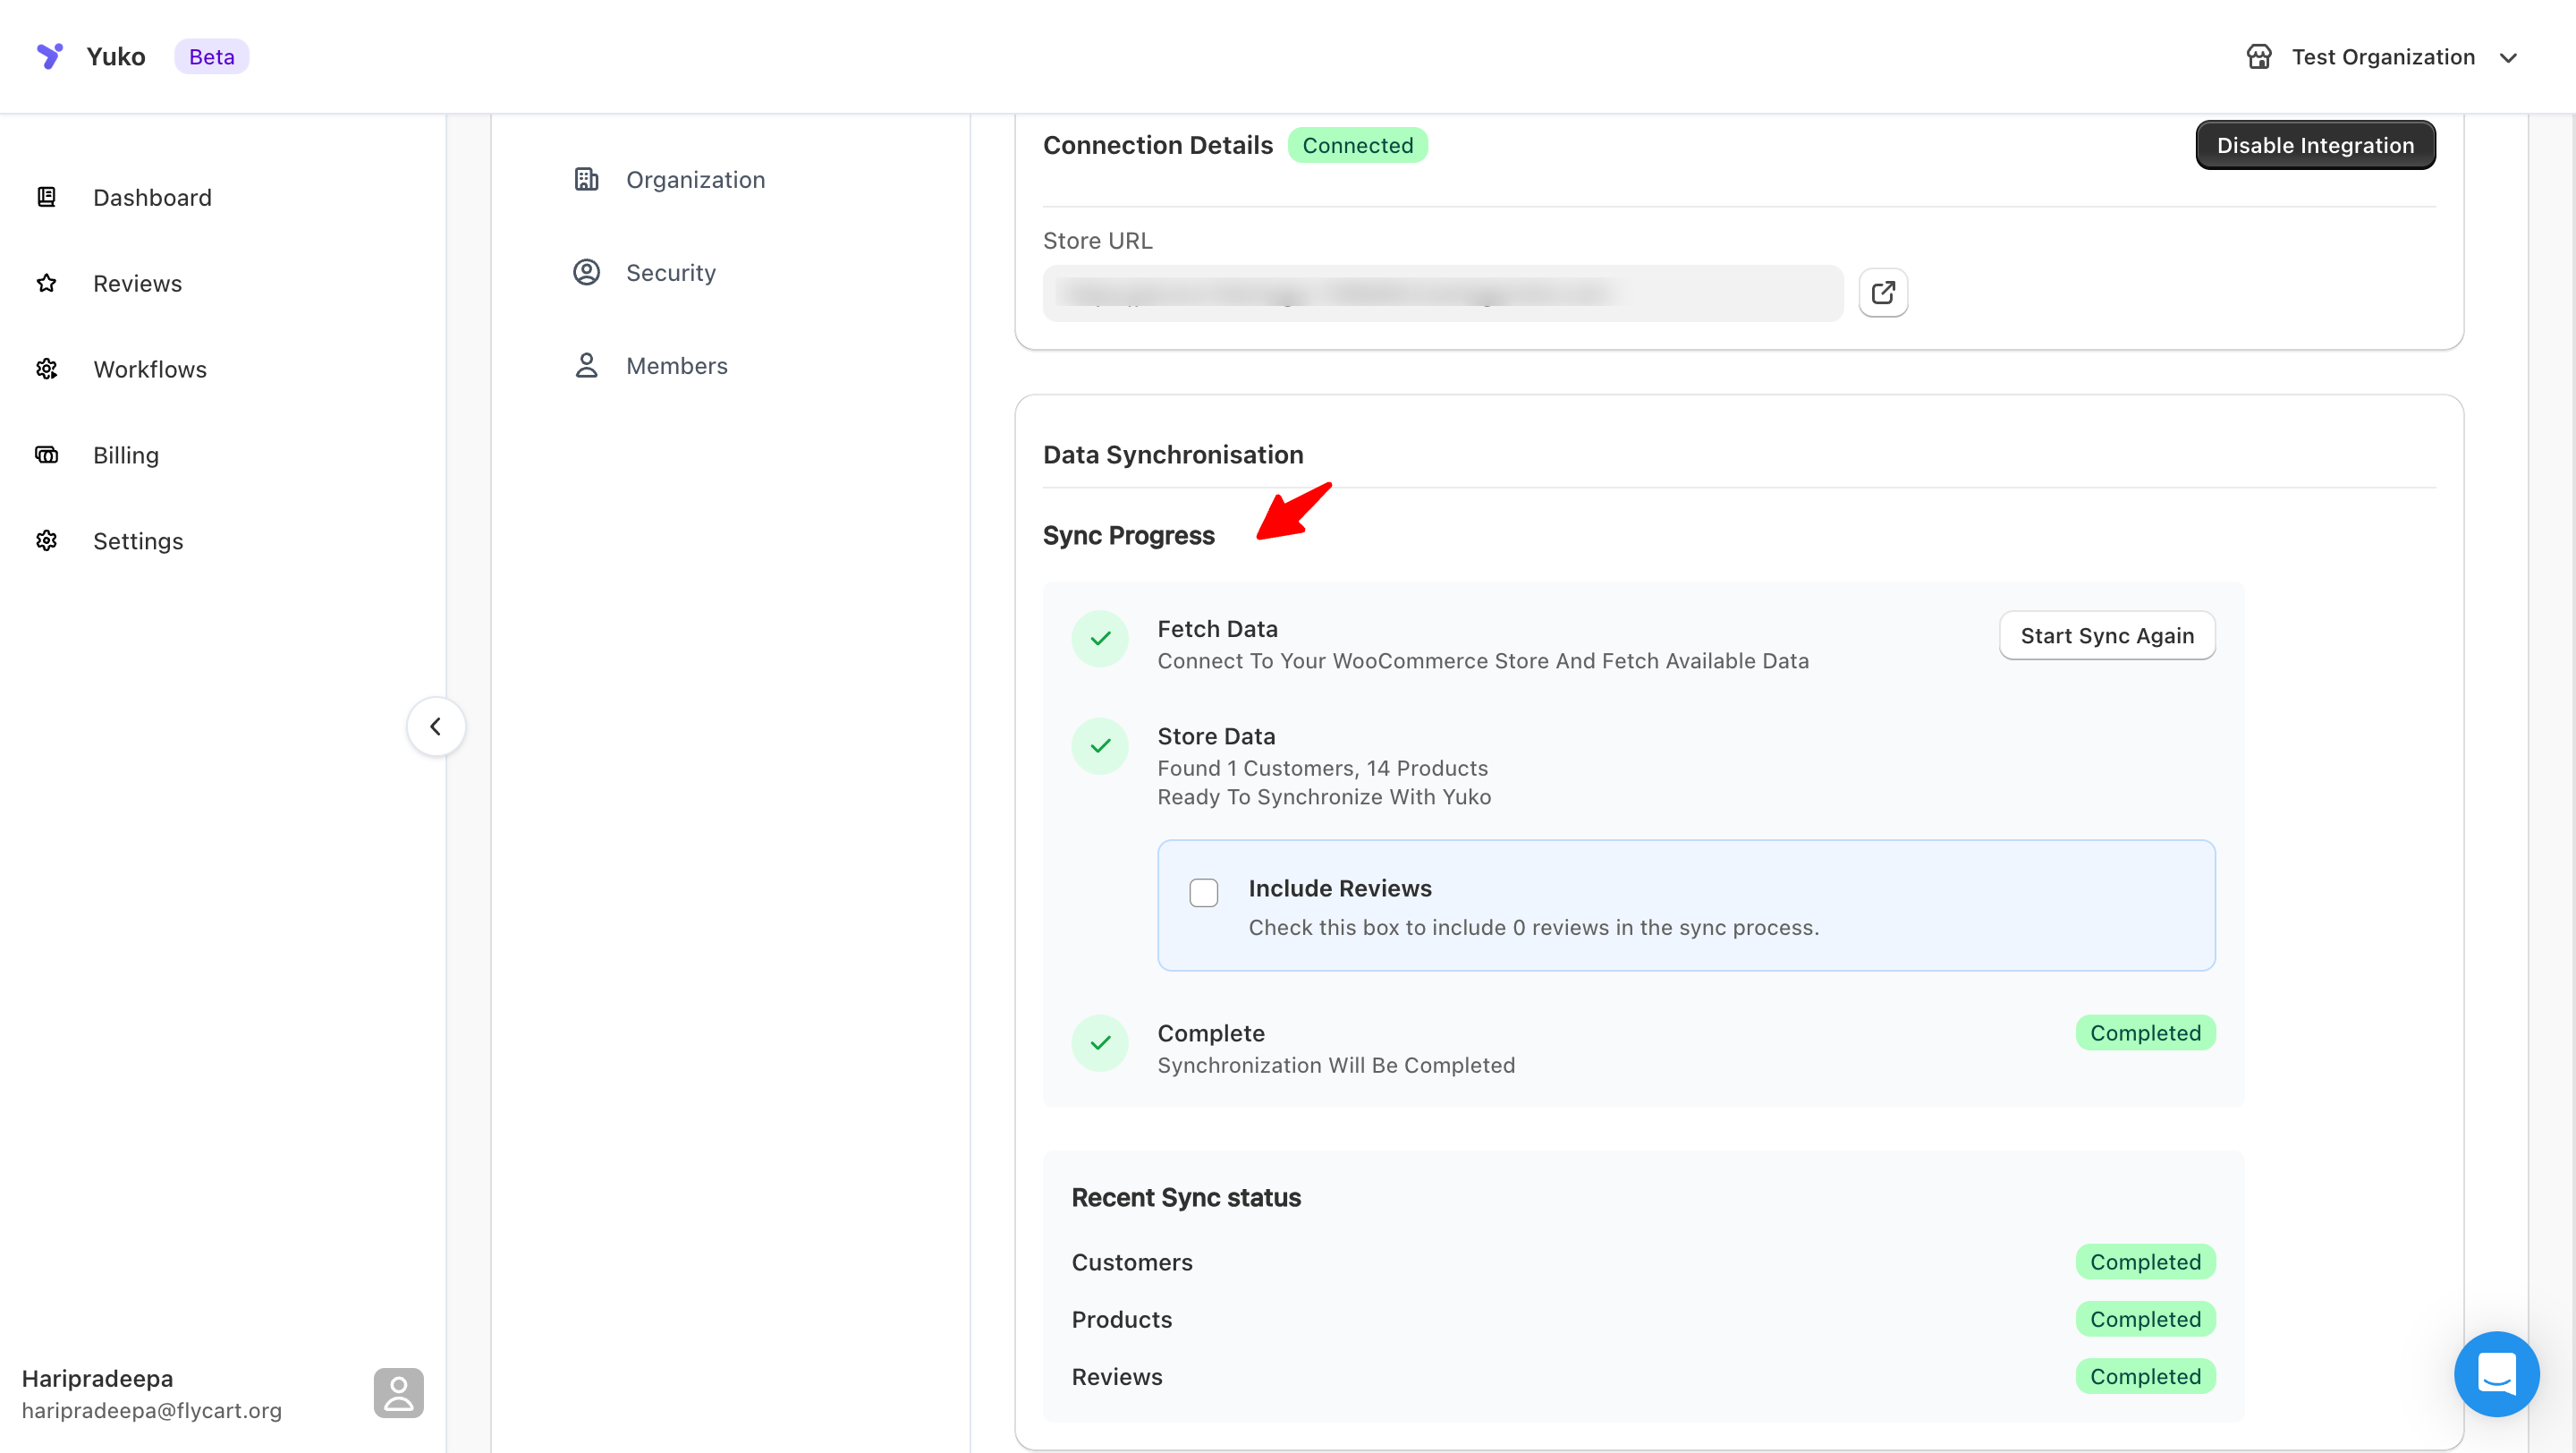
Sync Your Store Data
After connecting, manually sync your products and customers:- In Yuko Dashboard, stay in Settings → Integrations
- Find the WooCommerce platform integration
- Click the Configure button
-
Click Sync Data button to start importing:
- All products from your catalog
- Customer list (names and emails only)
- Existing WooCommerce reviews (if selected)
-
Wait for sync to complete
Your Next Steps
Now that installation is complete, set up your review collection system:Configure Review Request Emails
Set up automatic emails that ask customers for reviews after their order is delivered.Time: 10 minutes→ Set Up Review Requests
Add Review Display to Product Pages
Show customer reviews on your product pages where shoppers make buying decisions.Time: 5 minutes→ Product Page Reviews
Choose Review Approval Settings
Decide if reviews appear immediately or need your approval first.Time: 3 minutes→ Review Approval Settings
Customize Your Branding
Add your logo and colors to make review emails match your store’s brand.Time: 5 minutes→ Brand Your Emails
Advanced Installation Options
Install Plugin via FTP (For Advanced Users)
Install Plugin via FTP (For Advanced Users)
If the WordPress upload method doesn’t work, use FTP to install manually:Requirements:
- FTP client software (FileZilla, Cyberduck, etc.)
- FTP credentials from your hosting provider
- Download yuko.zip from Yuko Dashboard
- Unzip the file on your computer (important!)
- Connect to your site via FTP
- Navigate to
/wp-content/plugins/ - Upload the entire unzipped
yukofolder - Go to WordPress Admin → Plugins
- Find “Yuko” and click “Activate”
Install on WordPress Multisite
Install on WordPress Multisite
For WordPress Multisite installations:Network Activation:
- Install plugin normally
- Go to Network Admin → Plugins
- Click “Network Activate” under Yuko
- Install plugin to network
- Go to each site’s Admin → Plugins
- Activate Yuko individually on sites that need it
Use Staging Environment First
Use Staging Environment First
Recommended for large stores: Test on staging before production.Steps:
- Install Yuko on your staging site first
- Test review collection and display
- Verify everything works correctly
- Then install on production site
- Reconnect using production Store URL
Server Requirements & Hosting
Server Requirements & Hosting
Minimum server requirements:
- PHP 7.4 or higher (PHP 8.0+ recommended)
- MySQL 5.6+ or MariaDB 10.0+
- HTTPS enabled (SSL certificate installed)
- WordPress memory limit: 128MB minimum (256MB recommended)
- Max execution time: 30 seconds minimum
- ✅ SiteGround
- ✅ WP Engine
- ✅ Kinsta
- ✅ Bluehost
- ✅ GoDaddy
- ✅ HostGator
Common Installation Issues
Connection keeps failing
Connection keeps failing
Checklist to fix connection issues:✓ Store URL is correct:
- Include https:// (not http://)
- Use your actual domain (not localhost)
- Don’t include /wp-admin or other paths
- Example:
https://yourstore.com
- Go to WordPress → Plugins
- Yuko should show “Active” status
- Make sure WooCommerce plugin is working
- Test by visiting your store’s shop page
- Temporarily disable security plugins
- Try connecting again
- Re-enable security plugins after successful connection
- Some hosting providers block external API calls
- Contact your hosting support
- Ask them to whitelist Yuko API (app.yukoapp.com)
Products/Orders not syncing
Products/Orders not syncing
If products aren’t appearing in Yuko:
- Check product status in WooCommerce:
- Products must be “Published” (not Draft or Private)
- Products must be visible in catalog
- Wait for sync:
- Initial sync takes 1-5 minutes for small stores
- Large stores (1000+ products) may take 15 minutes
- Force manual sync:
- Go to Yuko Dashboard → Settings → Integrations
- Click “Sync Now” button
- Wait 2-3 minutes
- Yuko only syncs “Completed” orders
- Check that orders are marked “Completed” in WooCommerce
- Orders older than 90 days are not imported (performance reasons)
- Pending, Processing, or Draft orders won’t sync
Email verification link not working
Email verification link not working
If clicking verification link shows error:
- Link expired:
- Links expire after 24 hours
- Go to Yuko login page
- Click “Resend verification email”
- Link was already used:
- Try logging in directly
- Your account may already be verified
- Email client broke the link:
- Some email apps break long URLs
- Copy the entire link manually
- Paste into browser address bar
- Email support@yuko.so from the email address you used
- We’ll verify your account manually (within 24 hours)
Need Help?
Book a Free Setup Call
Talk to our team for personalised setup help.Time: 30 minutes
Contact Support
Visit our support hub for help articles, live chat and ticket submission.
Browse the Guides
Documentation across loyalty, referrals, memberships and more.
Install Yuko
Add Yuko to your Shopify store from the Shopify App Store.
Pro tip: After installation, immediately set up review request emails so you don’t miss any orders. Go to Review Request Setup next.